
Free Crochet Snowflake Pattern (with Video Tutorial!)
Nov 08, 2025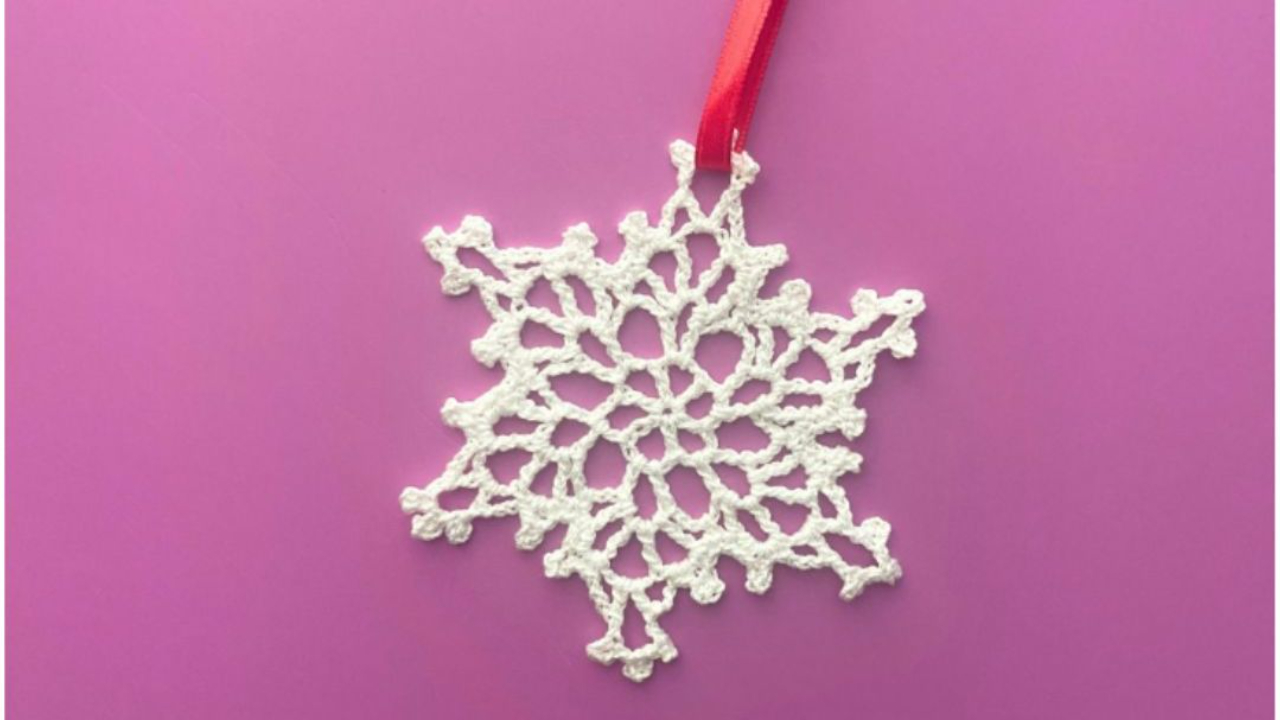
❄️ Free Crochet Snowflake Pattern (with Video Tutorial!)
Crochet snowflakes are the perfect handmade touch for winter decorating. Whether you’re trimming your Christmas tree, making festive garlands, or adding a delicate accent to gift wrap, these little snowflakes work up quickly and look beautiful in any color.
Today, I’m sharing a free crochet snowflake pattern with you, along with a step-by-step video tutorial to follow along. If you prefer a printable PDF version, you can also grab it in my Etsy shop for easy access anytime.
✨ Why You’ll Love This Crochet Snowflake
-
Quick to make — perfect for last-minute holiday projects
-
Uses only a small amount of yarn (great stash-buster!)
-
Endless possibilities: tree ornaments, gift toppers, garlands, coasters, or even appliqués
Finished Size:
4 1/2 inches
🧶 Crochet Snowflake Pattern
Materials Needed:
-
Size 10 crochet cotton
-
1.50 mm -1.75 mm crochet hook
-
Yarn Needle
-
Scissors
-
Fabric Stiffener (I used Mod Podge Stiffy but any fabric stiffener will work!)
-
Small bowl
-
Plastic bag or paper plate or something (to protect your surfaces from the stiffener!)
Special Stitches
Picot: ch 5, sc in 5th ch from hook.
Triple Picot: ch 6, sc in 5th ch from hook, (ch 5, sc in 5th ch from hook) twice, sl st in ch at base of first sc, ch 1.
Pattern Instructions
Round 1: Ch 8. Dc in first ch, (ch 4, dc in same ch) 4 times, ch 2, dc in third ch of beginning ch. (6 ch 4 spaces)
Round 2: Ch 8, dc in same sp, ch 6, *(dc, ch 5, dc) in next ch-4 sp, ch 6; repeat from * four more times; join with sl st to third ch of beginning ch. (12 ch spaces)
Round 3: Sl st in first space, ch 6, (tr, ch 5, tr, ch 2, tr) in same sp, ch 1, sc in next ch-6 sp, ch 1, *(tr, ch 2, tr, ch 5, tr, ch 2, tr) in next ch-5 sp, ch 1, sc in next ch-6 sp, ch 1; repeat from * 4 more times. Join with sl st to fourth ch of beginning ch 6.
Round 4: Sl st in 2 ch sp, ch 1 *(2 sc, picot, 2 sc) in next 2 ch sp, ch 3 (dc, triple picot, dc) in next ch 5 sp, ch 3, 2 sc, picot, 2 sc in next 2 ch sp, sc in next ch 1 sp, skip next sc, sc in next ch 1 space. Repeat from * 5 more times. Sl st to beginning sc.
Fasten off and weave in ends.
Now you need to stiffen the snowflake so that it holds it’s shape! Put your snowflake in a small bowl and pour in just enough stiffener to get the whole snowflake saturated. Next, lay your snowflake on a flat surface and smooth it out into the perfect snowflake shape. Allow it to dry completely. Once it is dry, you can attach a ribbon or ornament hanger so that you can hang your snowflake.
🎥 Watch the Step-by-Step Video Tutorial
Want to follow along visually? Watch my full video tutorial where I show you each step to make this snowflake from start to finish:
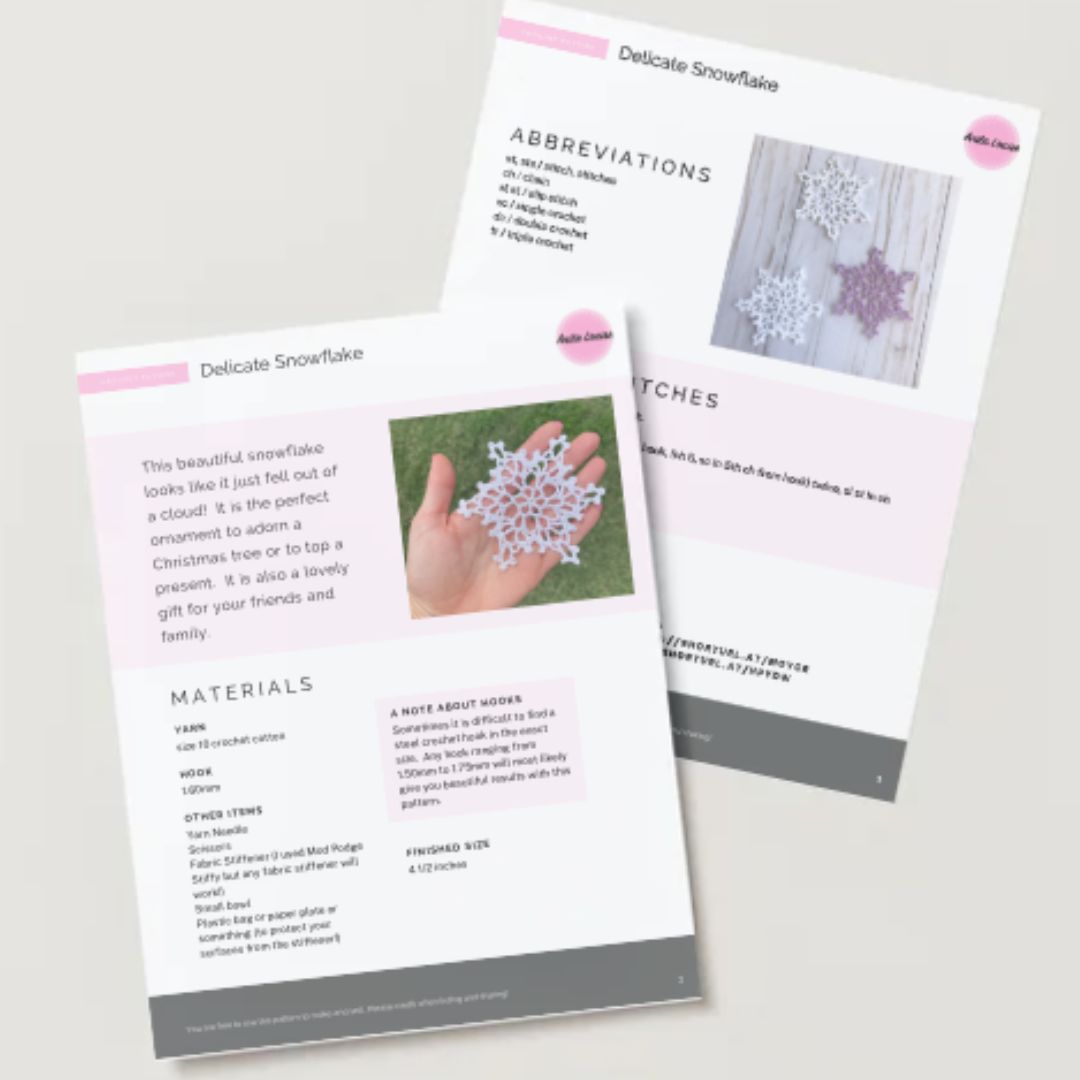
📄 Printable PDF Pattern
If you’d like an ad-free, printable PDF version of this pattern (perfect for your project binder), you can grab it in my Etsy shop HERE.
🌟 More Holiday Crochet Patterns
Looking for more festive projects? Try these free patterns too:
Final Thoughts
This little crochet snowflake is a fun and quick project that adds handmade charm to the holidays. Whether you’re a beginner or seasoned crocheter, you’ll love how easy it is to stitch up a flurry of snowflakes for your home.
Happy Crocheting!
— Anita Louise 🧶