
Crochet No-Sew Leggy Frog Pattern (Free + Video Tutorial)
Sep 13, 2025
Crochet No-Sew Leggy Frog Pattern (Free + Video Tutorial)
If you love whimsical amigurumi projects, you’re going to adore this crochet frog pattern! This little froggy is quick to make, beginner-friendly, and full of personality. Perfect as a toy, desk buddy, or market item, this project is sure to bring smiles.
In this post, you’ll find:
🐸 A free written crochet frog pattern
🐸 A step-by-step video tutorial
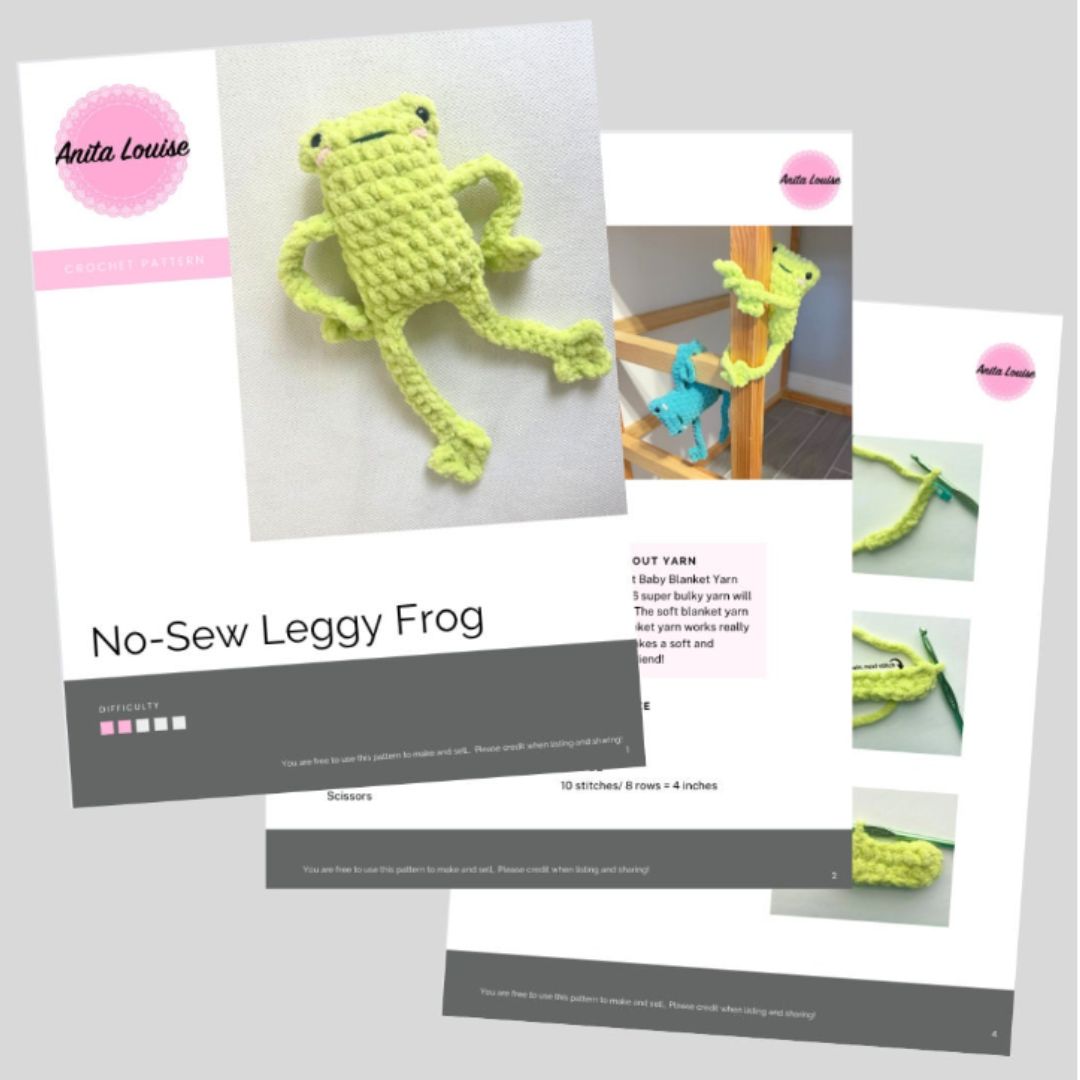
🐸 A printable PDF version available in my Etsy shop
Why You’ll Love This Crochet Frog
-
Beginner-friendly amigurumi design
-
Works up quickly with minimal yarn
-
Perfect for gifts, markets, or just for fun
-
Easy to customize with different colors or accessories
Finished Size
4 inches wide, 9 inches tall
Materials Needed
-
12 inch piece of pink yarn for cheeks
-
12 inch piece of black yarn for mouth
-
Fiberfill Stuffing
-
Stitch Marker
-
Yarn Needle
Free Crochet Frog Pattern
Ch 9. Place a marker in the 9th chain.
Round 1: 2 Hdc in 3rd ch from the hook. sc in next 5 ch. 4 hdc in last ch. Working on the other side of the chain, sc in next 5 ch. hdc in last ch. (18) (The 2 skipped chains at the beginning of this round will count as a hdc. The marker you placed in the 9th chain marks the top of this ch2/hdc.)
Round 2: sc2tog. Sc in the next 7 sts. sc2tog. Sc in the next 7 sts. (16)
Round 3-4: sc around (16)
Place safety eyes on sides of face between rows 1 and 2. embroider cheeks about 1 stitch below each eye, 1 stitch across. Stitch mouth on face, between rows 2 and 3, 2 or 3 stitches wide.
Round 5: Sc in the next 8 sts (you may need to add one or more extra sc to get to the side of your frog.) [ch 14. sc in 4th ch from the hook. (ch 3, sc in the same ch) x 2. Sc in the next 10 chains.]
Working on the body of the frog again, sc in the next 8 sts. Note that if you had to add a stitch or two, the stitch marker will be in the wrong place. That’s ok for this round!!
Repeat arm. [ch 14. sc in 4th ch from the hook. (ch 3, sc in the same ch) x 2. Sc in the next 10 chains.]
Round 6: Sc around (16) On this round, you will need to push the arms of the frog to the outside so that you can place all of the sc on the body of the frog.
Round 7: Sc in the next 7 sts. sc inc. sc in the next 7 sts. sc inc. (18)
Round 8-11: Sc around (18)
Row 12: If needed, make a few more sc so that you are on the side of the frog. Make arm/leg. [ch 14. sc in 4th ch from the hook. (ch 3, sc in the same ch) x 2. Sc in the next 10 chains.]
Stuff frog body with a big handful of fiberfill stuffing. Now we will be sewing frog closed: fold frog so that the open stitches on the bottom are together. Take the first 2 stitches that are closest to the leg just made. sl st through the back loops only. Continuing with back loops only, sl st the next 6 stitches together.
Make another leg. [ch 14. sc in 4th ch from the hook. (ch 3, sc in the same ch) x 2. Sc in the next 10 chains.] sl st the last stitches together to close up your frog. Finish off!
Video Tutorial 🎥
Watch the Right Handed Crochet Frog Video Tutorial here:
Watch the Left Handed Crochet Frog Video Tutorial here:
These step-by-step videos are perfect for beginners who prefer to learn visually.
Printable PDF Pattern 🐸
Want an ad-free, printable PDF version of this pattern (with step-by-step photos)? You can find it in my Etsy shop HERE.
Crochet Frog Variations
-
Make a tiny frog keychain with smaller yarn + hook
-
Add a little crown to make a prince frog
-
Use chunky yarn for a large, squishy frog plush
-
Crochet multiple frogs for a fun set of gifts or market items
Final Thoughts
This crochet frog pattern is a fun, fast, and adorable project for any crocheter. Whether you make one for yourself, as a gift, or for your handmade shop, this little frog is guaranteed to bring joy.
🐸 Happy Crocheting!